By Cherry 2026
If you’re completely new to scrapbooking or junk journaling, I recommend starting with a beginner’s guide first. But today, we’re talking about building pages that go beyond the usual routine.
The best part about scrapbooks is that they are personal. They belong to you and your eyes only. But even so, we still want them to be pretty and not mundane.
Eventually, you’ll get tired of the same routine: writing, pasting stickers, doodling, and repeating. Although that itself is fun, we’re bound to ask ourselves — scrapbooking is a creative hobby, so doing the same thing again can only develop your skills for so long.
So, here are 5 ways to make your pages more creative.
When I first got into scrapbooking and junk journaling, I had no idea what I was doing. Even though it’s supposed to be a pressure-free hobby, I still want to make my pages look as pretty as the ones I saw online.
I knew this hobby was meant to be personal, something just for me. But at the same time, I still wanted my journal to look nice. Not for other people, just for myself. And at the end of the day, it wouldn’t really be a hobby if you couldn’t enjoy it your own way.
So, as someone who also started from nothing, here are a few basics that will help you start and not quit halfway through your first journal.
1. Flat Surfaces
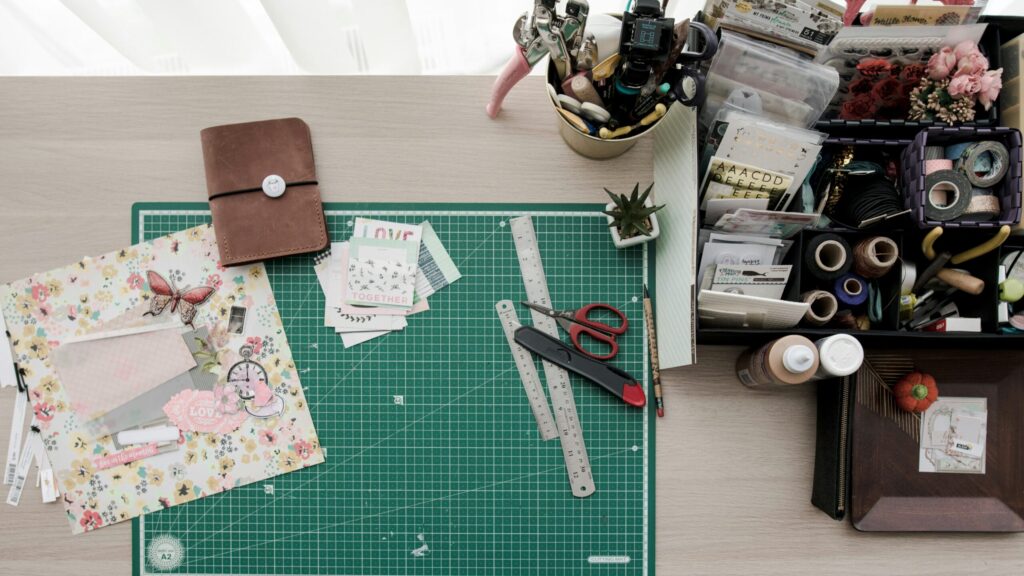
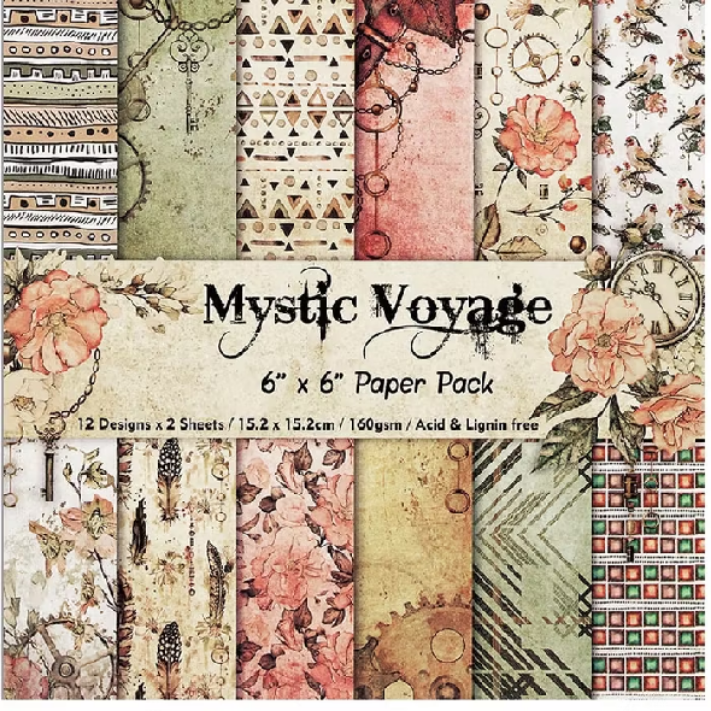
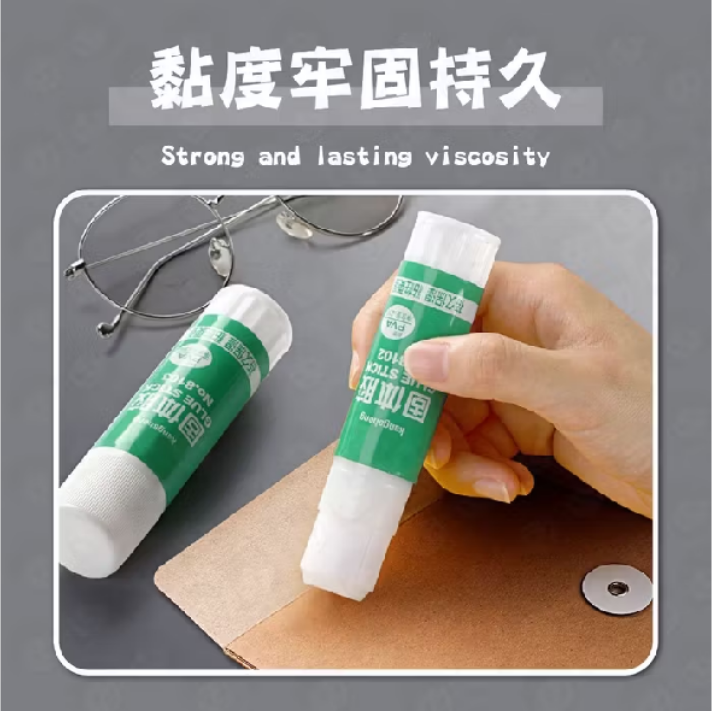
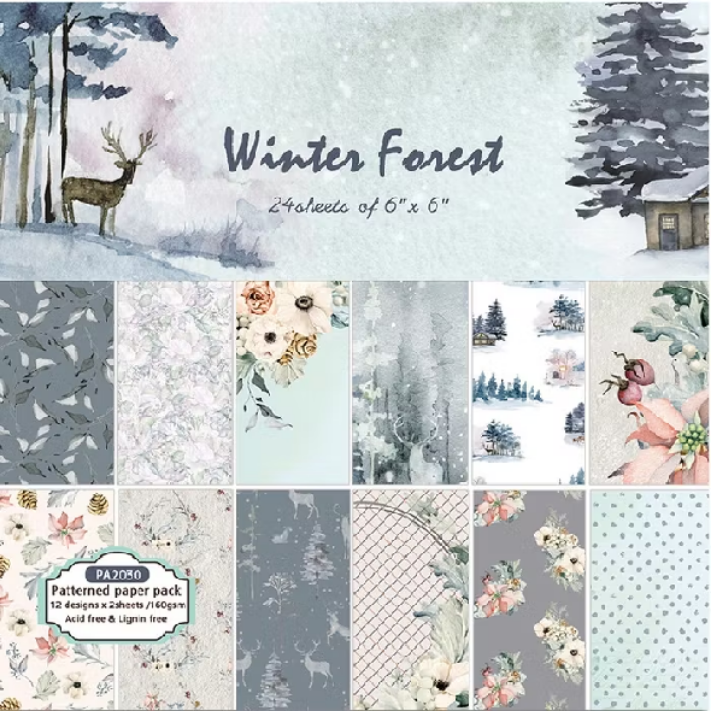
Paper is commonly torn, layered, and shaped before being glued or taped into a journal, but you can also experiment with other flat materials such as old fabric, receipts, leaves, and textured paper to make your pages feel more personal. The sky is the limit, or at least anything flat is. Speaking from experience, adding real little objects from your day can make a page bring back memories much more strongly than decorations alone. Some materials can be annoying to stick down, though, so I recommend keeping a good glue stick (ShopeeMY) nearby, especially for thinner scraps and fabric. You can also use textured papers (ShopeeMY) between layers to add more depth and variety without making the page overly bulky.
2. Non-Flat Surfaces
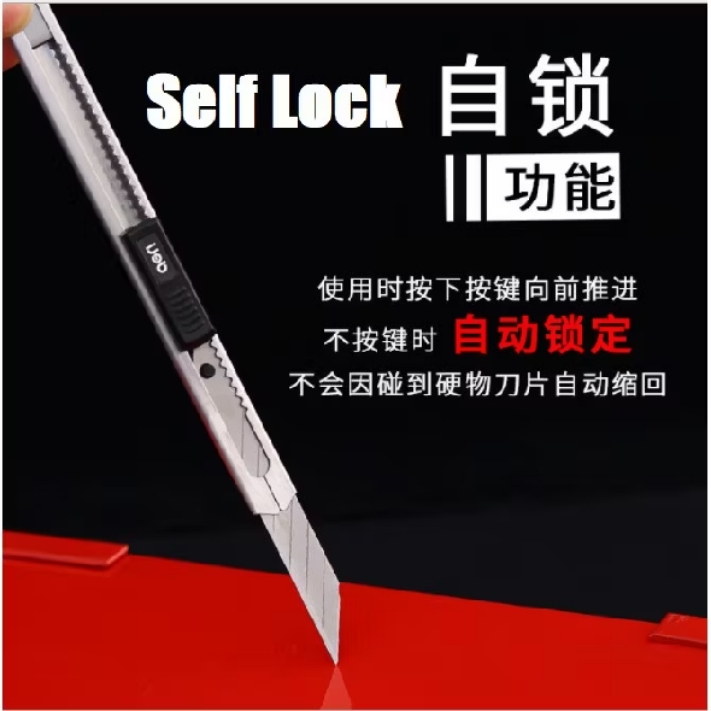
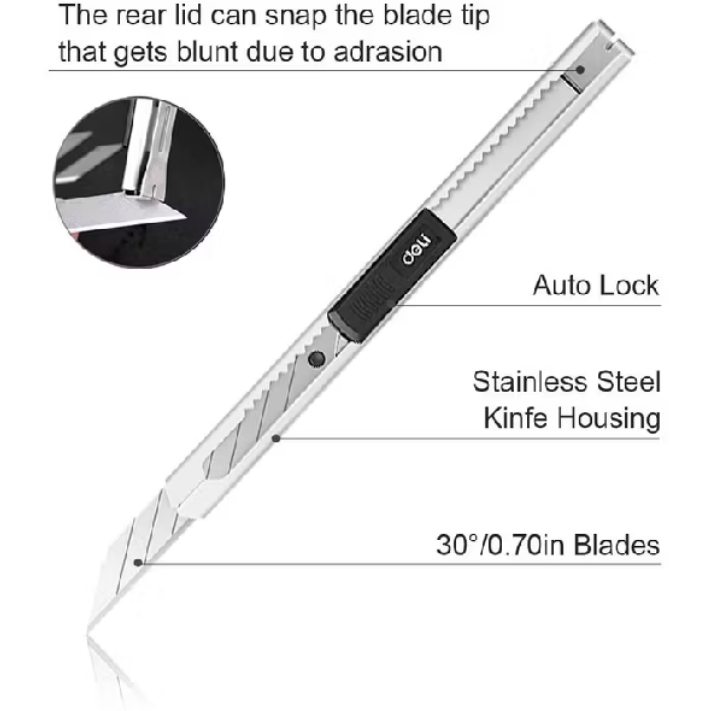
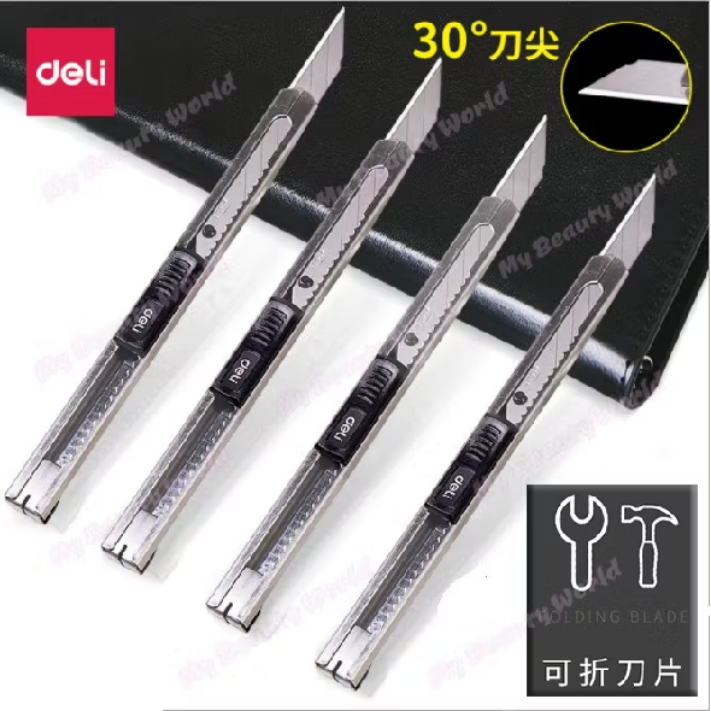
This contrasts with the previous idea, but that’s completely fine because when it comes to scrapbooking, the sky really is the limit. From personal experience, try taking any small object lying around your house and turning it into something creative for your book. I once used a Tic Tac container to make a shaker page and even added googly eyes to my friends in photos. If your goal is to preserve memories, use objects that feel interesting, new, or oddly meaningful to you. Almost anything can be rebuilt into something beautiful, but if something truly has no potential, let it go — we don’t want to become hoarders. Even though creativity can thrive on constraints, having the right tools makes experimenting much easier, so I recommend keeping a pen cutter (ShopeeMY) and a cutting mat (ShopeeMY) nearby for trimming, reshaping, and transforming random materials into something that actually fits your page.
3. Pop-Ups
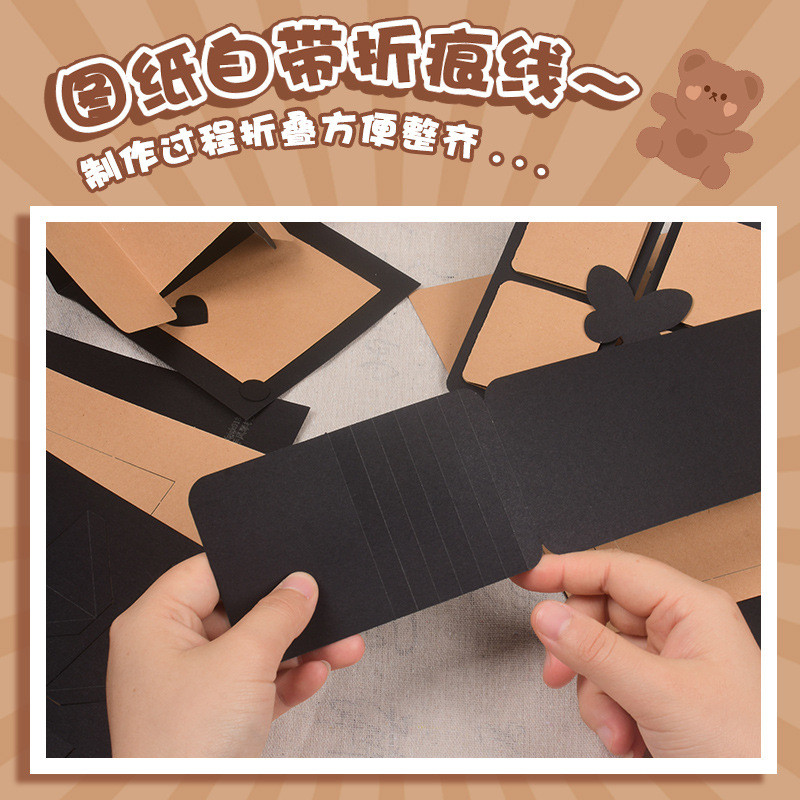
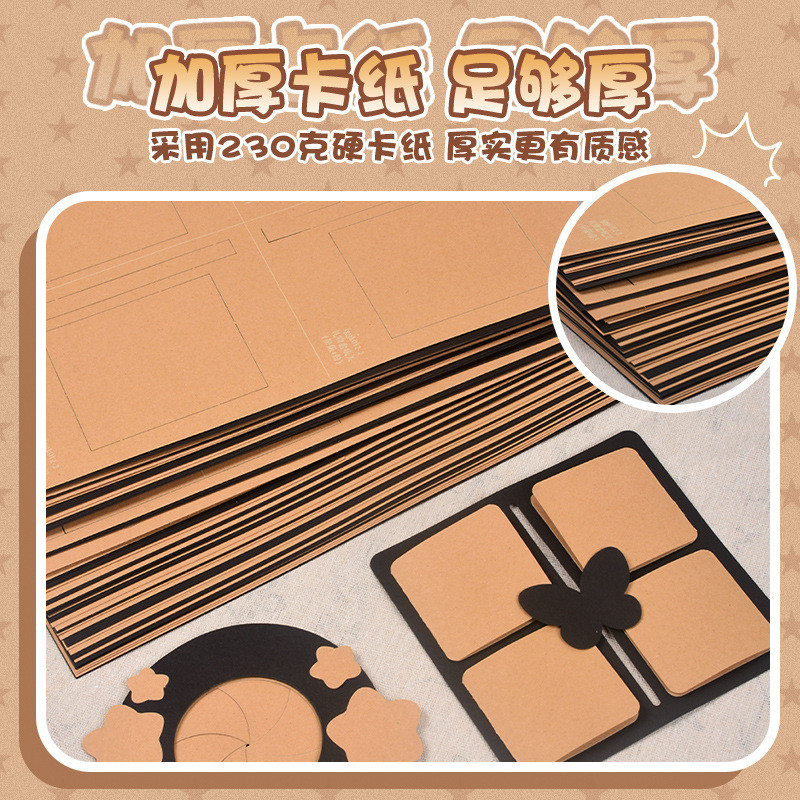
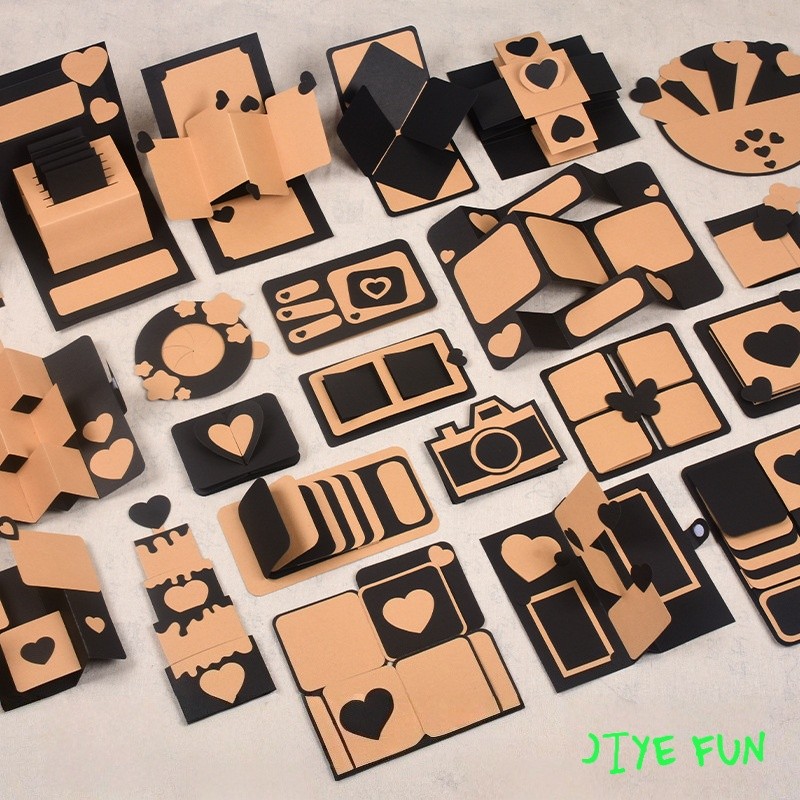
There’s something wonderful about being able to interact with a scrapbook page. Toddlers seem to love anything they can open, pull, or move — and honestly, so do we. A pop-up page doesn’t have to be anything grand either; even something as simple as a little window flap can make a page feel much more exciting and memorable. The important thing is to measure everything properly before you start cutting, because without rulers and clear guidelines, you can easily spend hours trying to fix small mistakes. If you want an easier place to start, a scrapbook pop-up kit (ShopeeMY) can provide ready-made materials and ideas for experimentation, while a cutting mat (ShopeeMY) offers a safer, more stable surface to work on. I’d also recommend a cutting pen for making smaller and more precise cuts. When it comes to interactive pages, precision really does save you time.
4. Ripping Pages
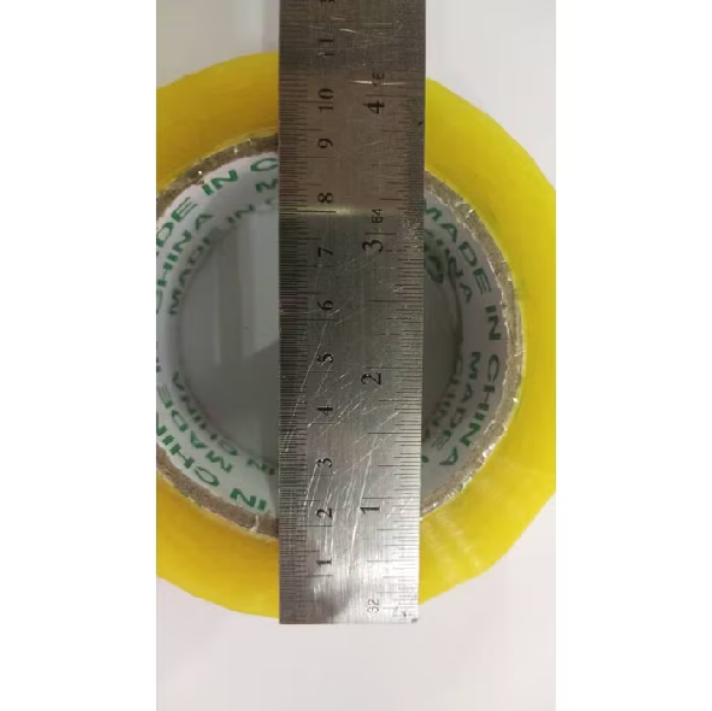
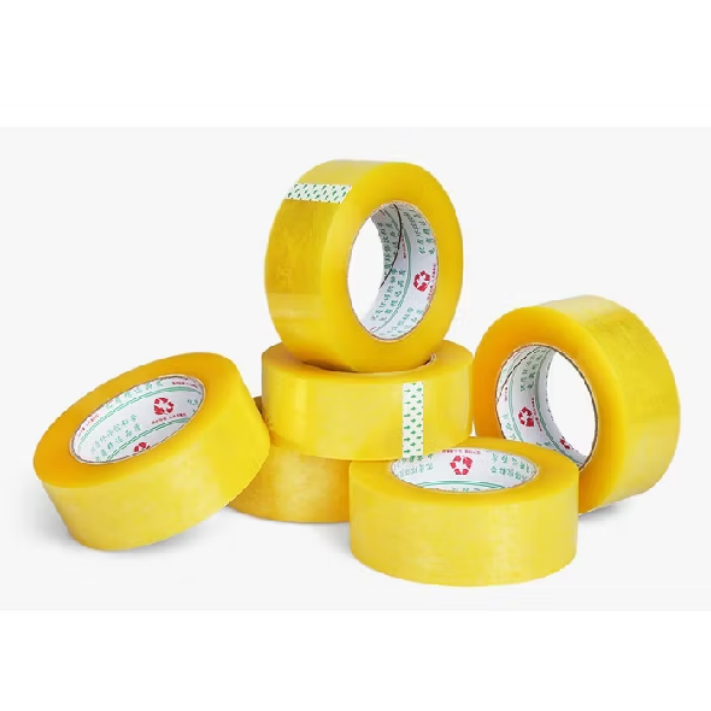
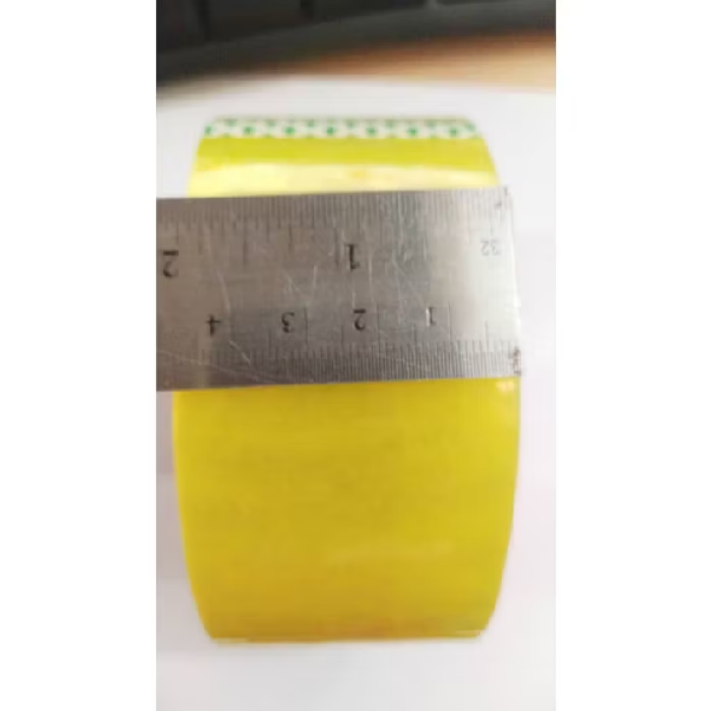
know what it feels like to own a scrapbook full of memories — you treasure every page like gold. But hear me out: sometimes cutting or tearing part of a page can actually make the scrapbook more interesting. You can remove a section to reveal part of the previous or next page, creating more layers, mystery, and a different way of experiencing the story as you flip through the book. You can also tear open part of a page and place something flat between the layers to create a hidden insert or little surprise. If you want to try this without making everything look messy, I recommend using invisible tape (ShopeeMY) to secure the hidden pieces while keeping the focus on the page itself. Sometimes breaking the page really does make it better.
5. Anaglyph Glasses
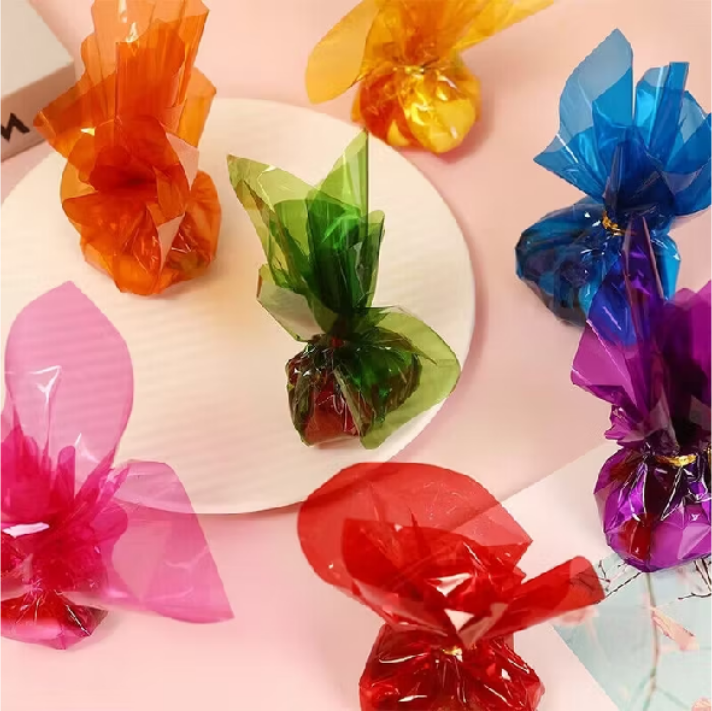
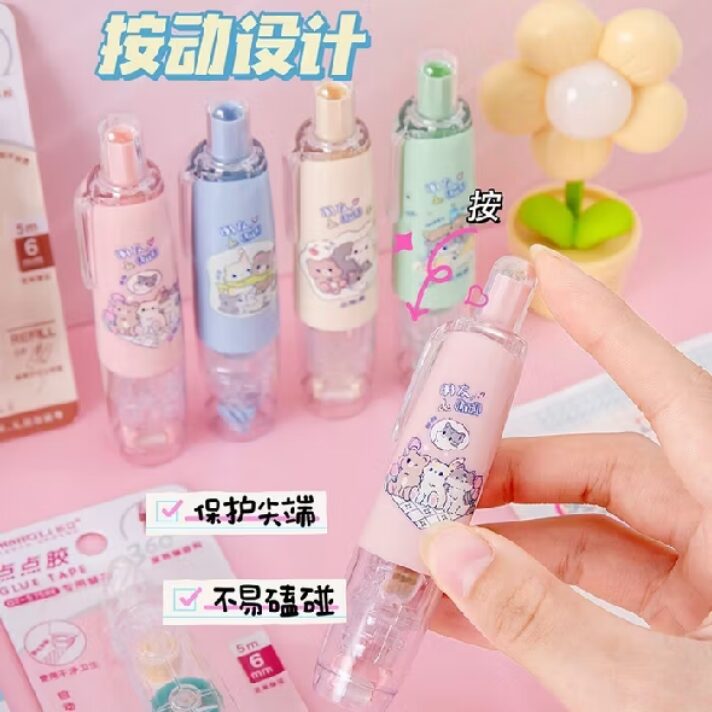
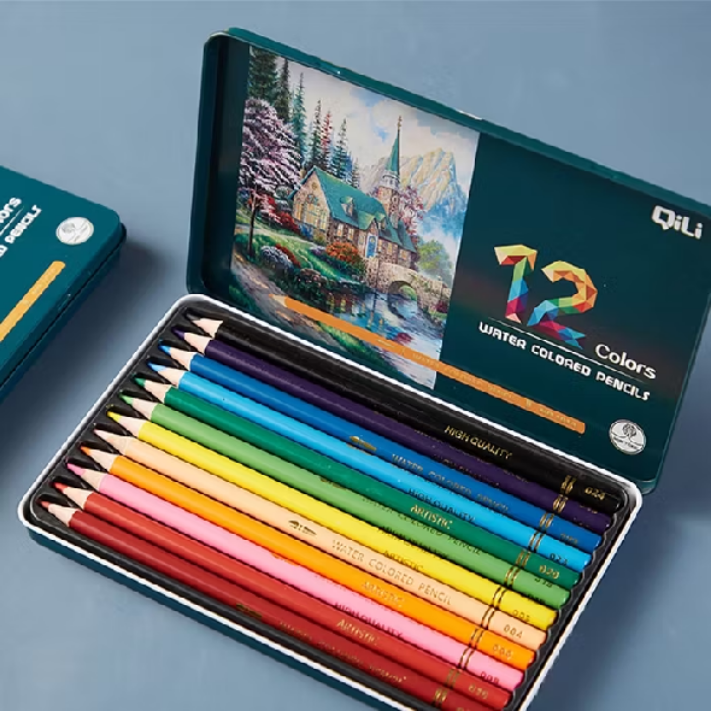
You can hide a secret message in plain sight and even turn it into a little interactive feature by creating a pocket inside your journal to store the viewing glasses. To make the hidden message, scribble over the page using a red pencil, then write your actual message using a green pencil. When you look through cellophane paper (ShopeeMY), the red markings become less distracting, and the hidden message becomes easier to see. For the DIY glasses, cut two identical cardboard frames, cut a piece of cellophane paper slightly larger than the openings, then sandwich it between the cardboard layers and secure everything together. You’ll also need coloured pencils (ShopeeMY) in red and green to create the effect, and glue tape (ShopeeMY) to hold the glasses neatly in place.
This is a little suggestion and idea inspiration that made scrapbooking more fun for me, so I’d hope you guys would love these ideas and share some of them with me